Kidlit art: monkey character study mini tutorial in Affinity Designer
Sharing my illustration process from A to Z
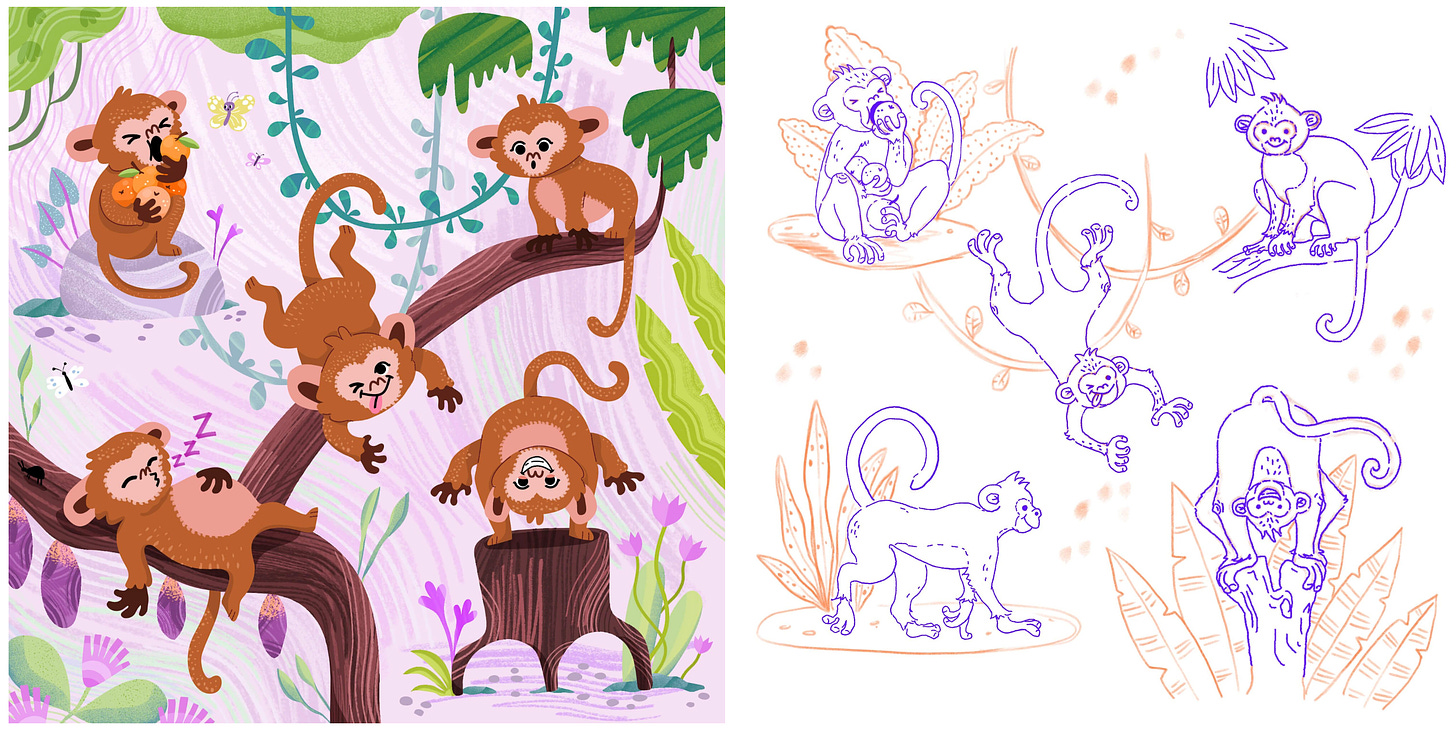
Creating character study illustrations is an amazing exercise for artists of all levels! Recently, I completed a fun character study using Affinity Designer on my iPad, and I am thrilled to share not only the final piece but also the process behind it. This illustration captures the essence of a character I envisioned, with detailed attention to expression and dynamic poses. The character study was part of my assignments for the Character Study Intensive course by ITSme that I was invited to take.
PS: If you’d like to see my entire process, from start to finish, don’t miss out the YouTube video link to the voiceover tutorial below. This tutorial provides an in-depth look at the tools and techniques I used, from initial sketches to the final polished illustration. I hope this glimpse into my process will inspire you to learn vector art in Affinity Designer ^^
Are character studies necessary in every artist portfolio?
Character studies are an important component of any illustrator's portfolio, especially in the field of children's literature (kidlit art). How many do you have in your professional portfolio right now? :) They are an amazing exercise that will help you demonstrate your ability to create a wide range of emotions, expressions and poses for one character, while keeping this character consistent (more about it below). Kidlit art is all about storytelling, and character studies will let you show how well you can convey a character’s personality and story through visuals alone. This particular exercise form the course that I was taking was a bit of a challenge because I was supposed to draw an animal, without any clothes etc., so without making it anthropomorphic.
So what can we tell about the monkey from this study? It’s cheeky, good-humored, loves to eat and sleep, really laid back, like a monkey :D It is very curious and playful, possibly adventures. It will certainly get involved into some mischief very soon!
It’s a big task, something that you need to learn, to be able to create character studies in which your hero remains consistent throughout a story, which is critical in book illustrations. Consistency in appearance, expressions, and behavior helps children recognize and connect with the characters. Demonstrating this ability in a portfolio shows publishers and authors that the illustrator can maintain character integrity across multiple scenes and pages.
YouTube Affinity Designer Mini Tutorial Overview
In my YouTube mini tutorial, you'll get a step-by-step walkthrough of my character illustration process in Affinity Designer on the iPad. I tried to squeeze in hours of work into a more compact speedpaint video with a voiceover. Here's a brief overview of what you'll learn:
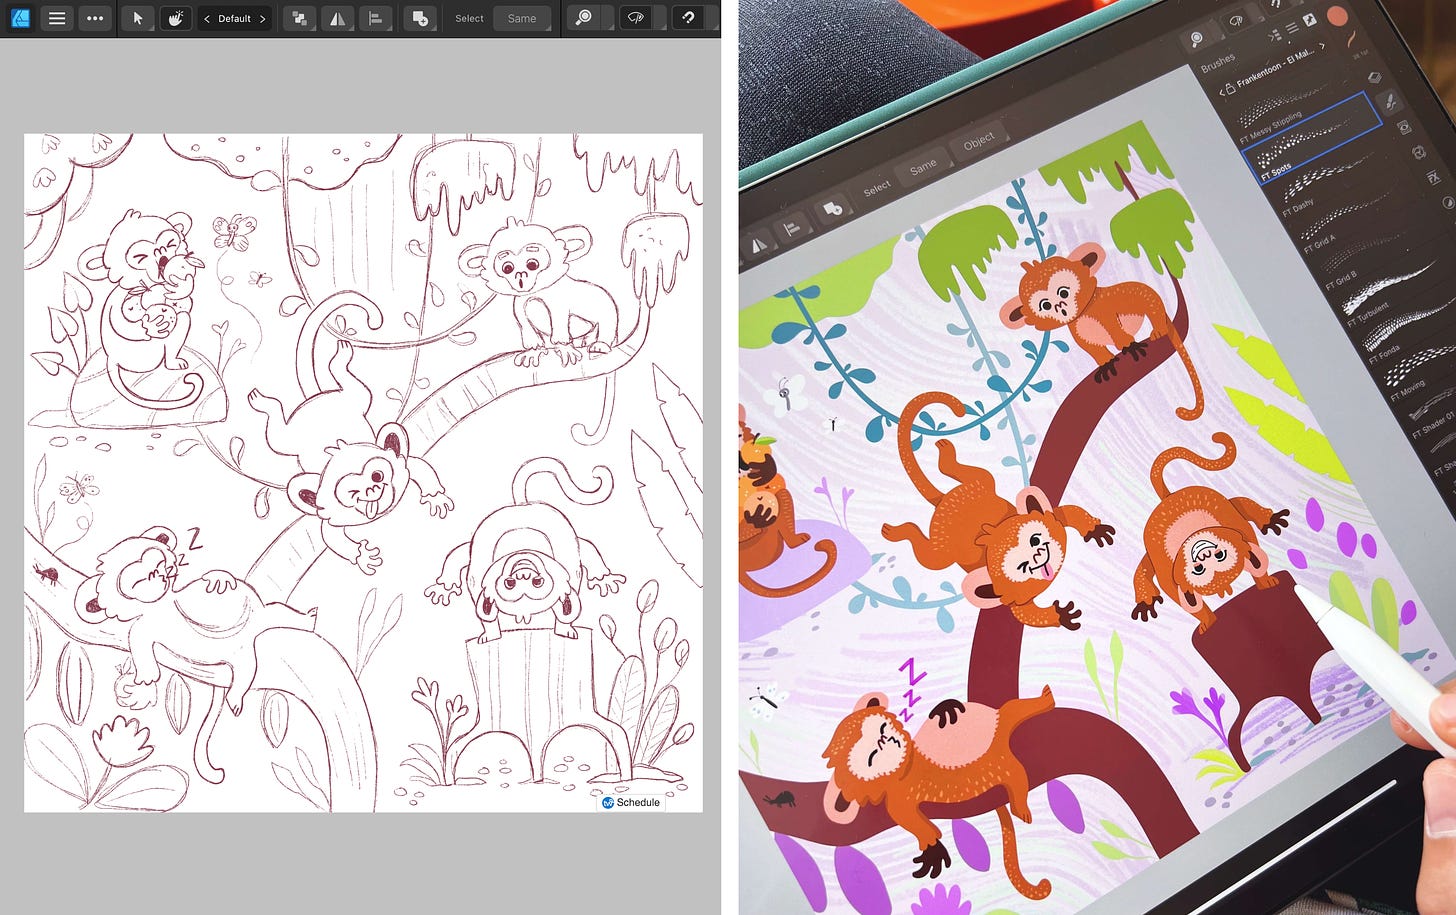
Sketching the character: Starting with rough sketches, I'll show you my Procreate interface as I was working on the monkey character. I actually changed my sketches one time entirely because I needed to redraw my monkey in a “younger” way. In the end my character looks much more attractive to younger kids, which was my goal.
Drawing the vector base: Next, I'll demonstrate how I created my vector base using Affinity Designer's vector drawing tools. We will be using the Pencil Tool and switching between the Move Tool and the Node Tool to refine our vector shapes. On top of that I will mention about Boolean operations (Add, Subtract).
Adding colors and shading: I'll cover my favorite techniques for creating vector-based texture paths for shadows and for highlights that bring the illustration to life. You will see how I love using vector brushes to create more depth in my vector art.
Detailing and texturing: We will be refining the color palette for this illustration, checking the overall contrast of the piece with the greyscale button, and turning some Stroke elements into textured outlines. Oh, let’s also not forget about using those clipping masks!
Final touches and adjustments: Finally, I'll share tips on making final adjustments, such as adding background elements, and ensuring the overall composition is balanced and visually appealing.
So, grab your stylus and join me on YouTube! By the way, this is not only a mini tutorial, it’s also a Q&A session. Make sure to ask your questions and I will give my best answer. In case of doubt, or if you are looking for a friendly artist community, please check out our Facebook support group: Affinity Designer & Adobe Fresco for Illustrators.
Happy creating! Makes sure to check out my most recent Affinity Designer online course in general vector illustration: Affinity Designer Basics: Children’s Book Cover Design & Illustrating Mockups. The project is from kidlit art but you can totally apply what you learn to your own needs and your artist portfolio, so the project is simply to help you learn Affinity Designer fast.
Hi! I’m Weronika Salach, a freelance illustrator specializing in children’s books, toy design and surface pattern design. Internationally I’m represented by Advocate Art. Over 35,000 happy students have taken my digital illustration courses and watched my YouTube videos. Let’s connect :)
👉 Website
👉 "The Art of Growth" blog-letter
👉 YouTube


