


My newest Affinity course is here! A look at my production setup
From idea to launch

After weeks of planning, recording, and editing, I’m thrilled to announce that my latest Affinity Designer course is officially live! “Drawing Vector Houses in Affinity Designer: Illustrate With Gradients”
I planned this course for beginner and intermediate students to take your vector illustration skills to the next level :) The goal is to really solidify your knowledge, and with every new course I hope that I am skipping any unnecessary beginners explanations and just getting straight into “doing”.
Before you dive into the course, I wanted to give you a little behind-the-scenes look at how I put it all together.
My recording & editing setup
Creating a smooth and professional-looking course requires more than just good content - it also depends on having the right tools. BUT, a big but he he, having said that, if you’re just starting out then there is really very little that you need! In a nutshell - your phone and definitely a microphone! This is the holy starter duo of any video production (you can substitute your phone with literally ANY photo camera that you might already own - no need to invest heavily at the beginning).
But after 6 years of creating online courses (this is my 20th course guys!!!), here’s what I am using as of March 2025:
Hardware:
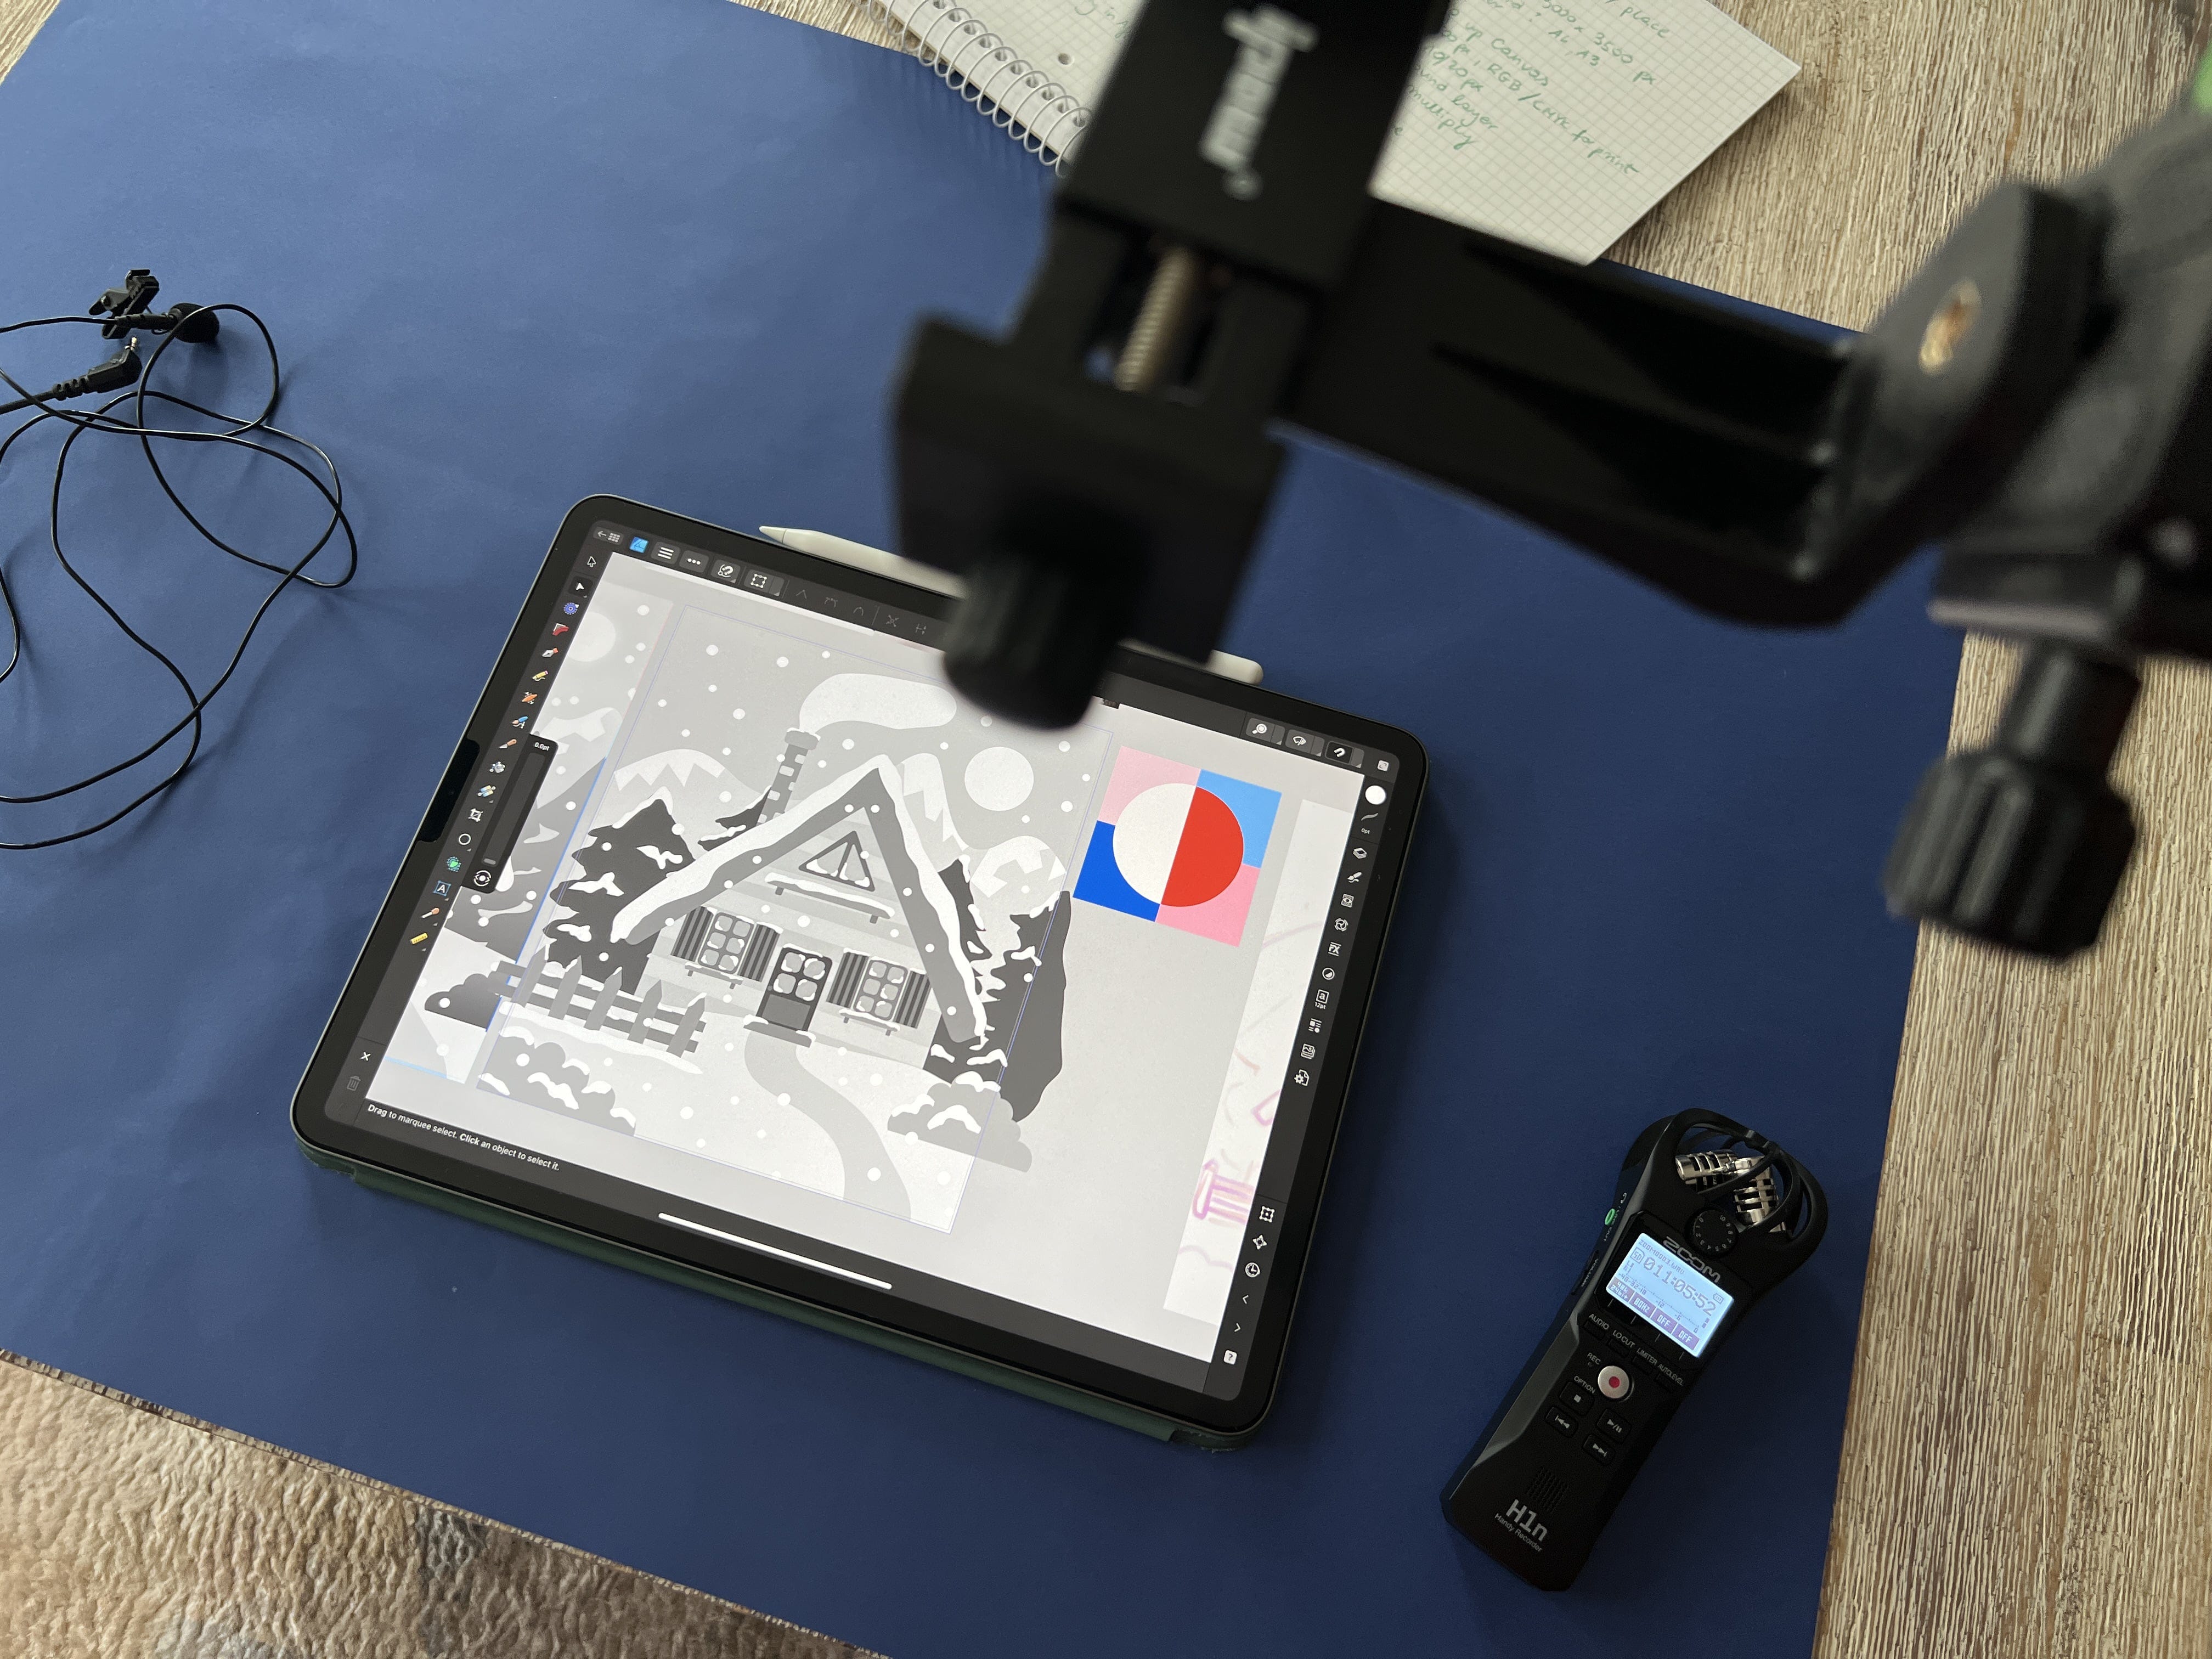
iPhone 13 Pro – My main device for recording course content. I airdrop my footage to my iMac for editing. I used to be an “Android person” and now I just can’t imagine working without Apple products because the integration between all my devices is so smooth. And actually ALL my devices are bought second-hand! In Germany we have a website called rebuy.de - I used to work for them as a marketing specialist waaaay back :)
Overhead tripod with smartphone holder – Helps me capture top-down shots for hands-on tutorials. I bought them on Amazon: “Ipow Universal Handy Stativ Adapter Smartphone“ plus “TARION Kamera Stativ mit Transversal Mittelsäule“, here is the link to the tripod, any other brand will do! https://www.amazon.de/dp/B07L88YLMT?ref_=ppx_hzsearch_conn_dt_b_fed_asin_title_6&th=1
Lavalier mic by Rode – For crisp, clear audio during recordings, super important. And again, any lavalier mic will do!
Zoom H1n recorder – I use this to capture high-quality audio separately, which I later synchronize in editing. I’ve been creating courses for over 6 years now, so naturally I started to invest more into this “extra” equipment with the help of Skillshare!
iMac – My main workstation for editing and organizing course content. Love :) I wish I were rich and could buy all the colors! :D Here is my studio corner by the way!

Software & editing tools:
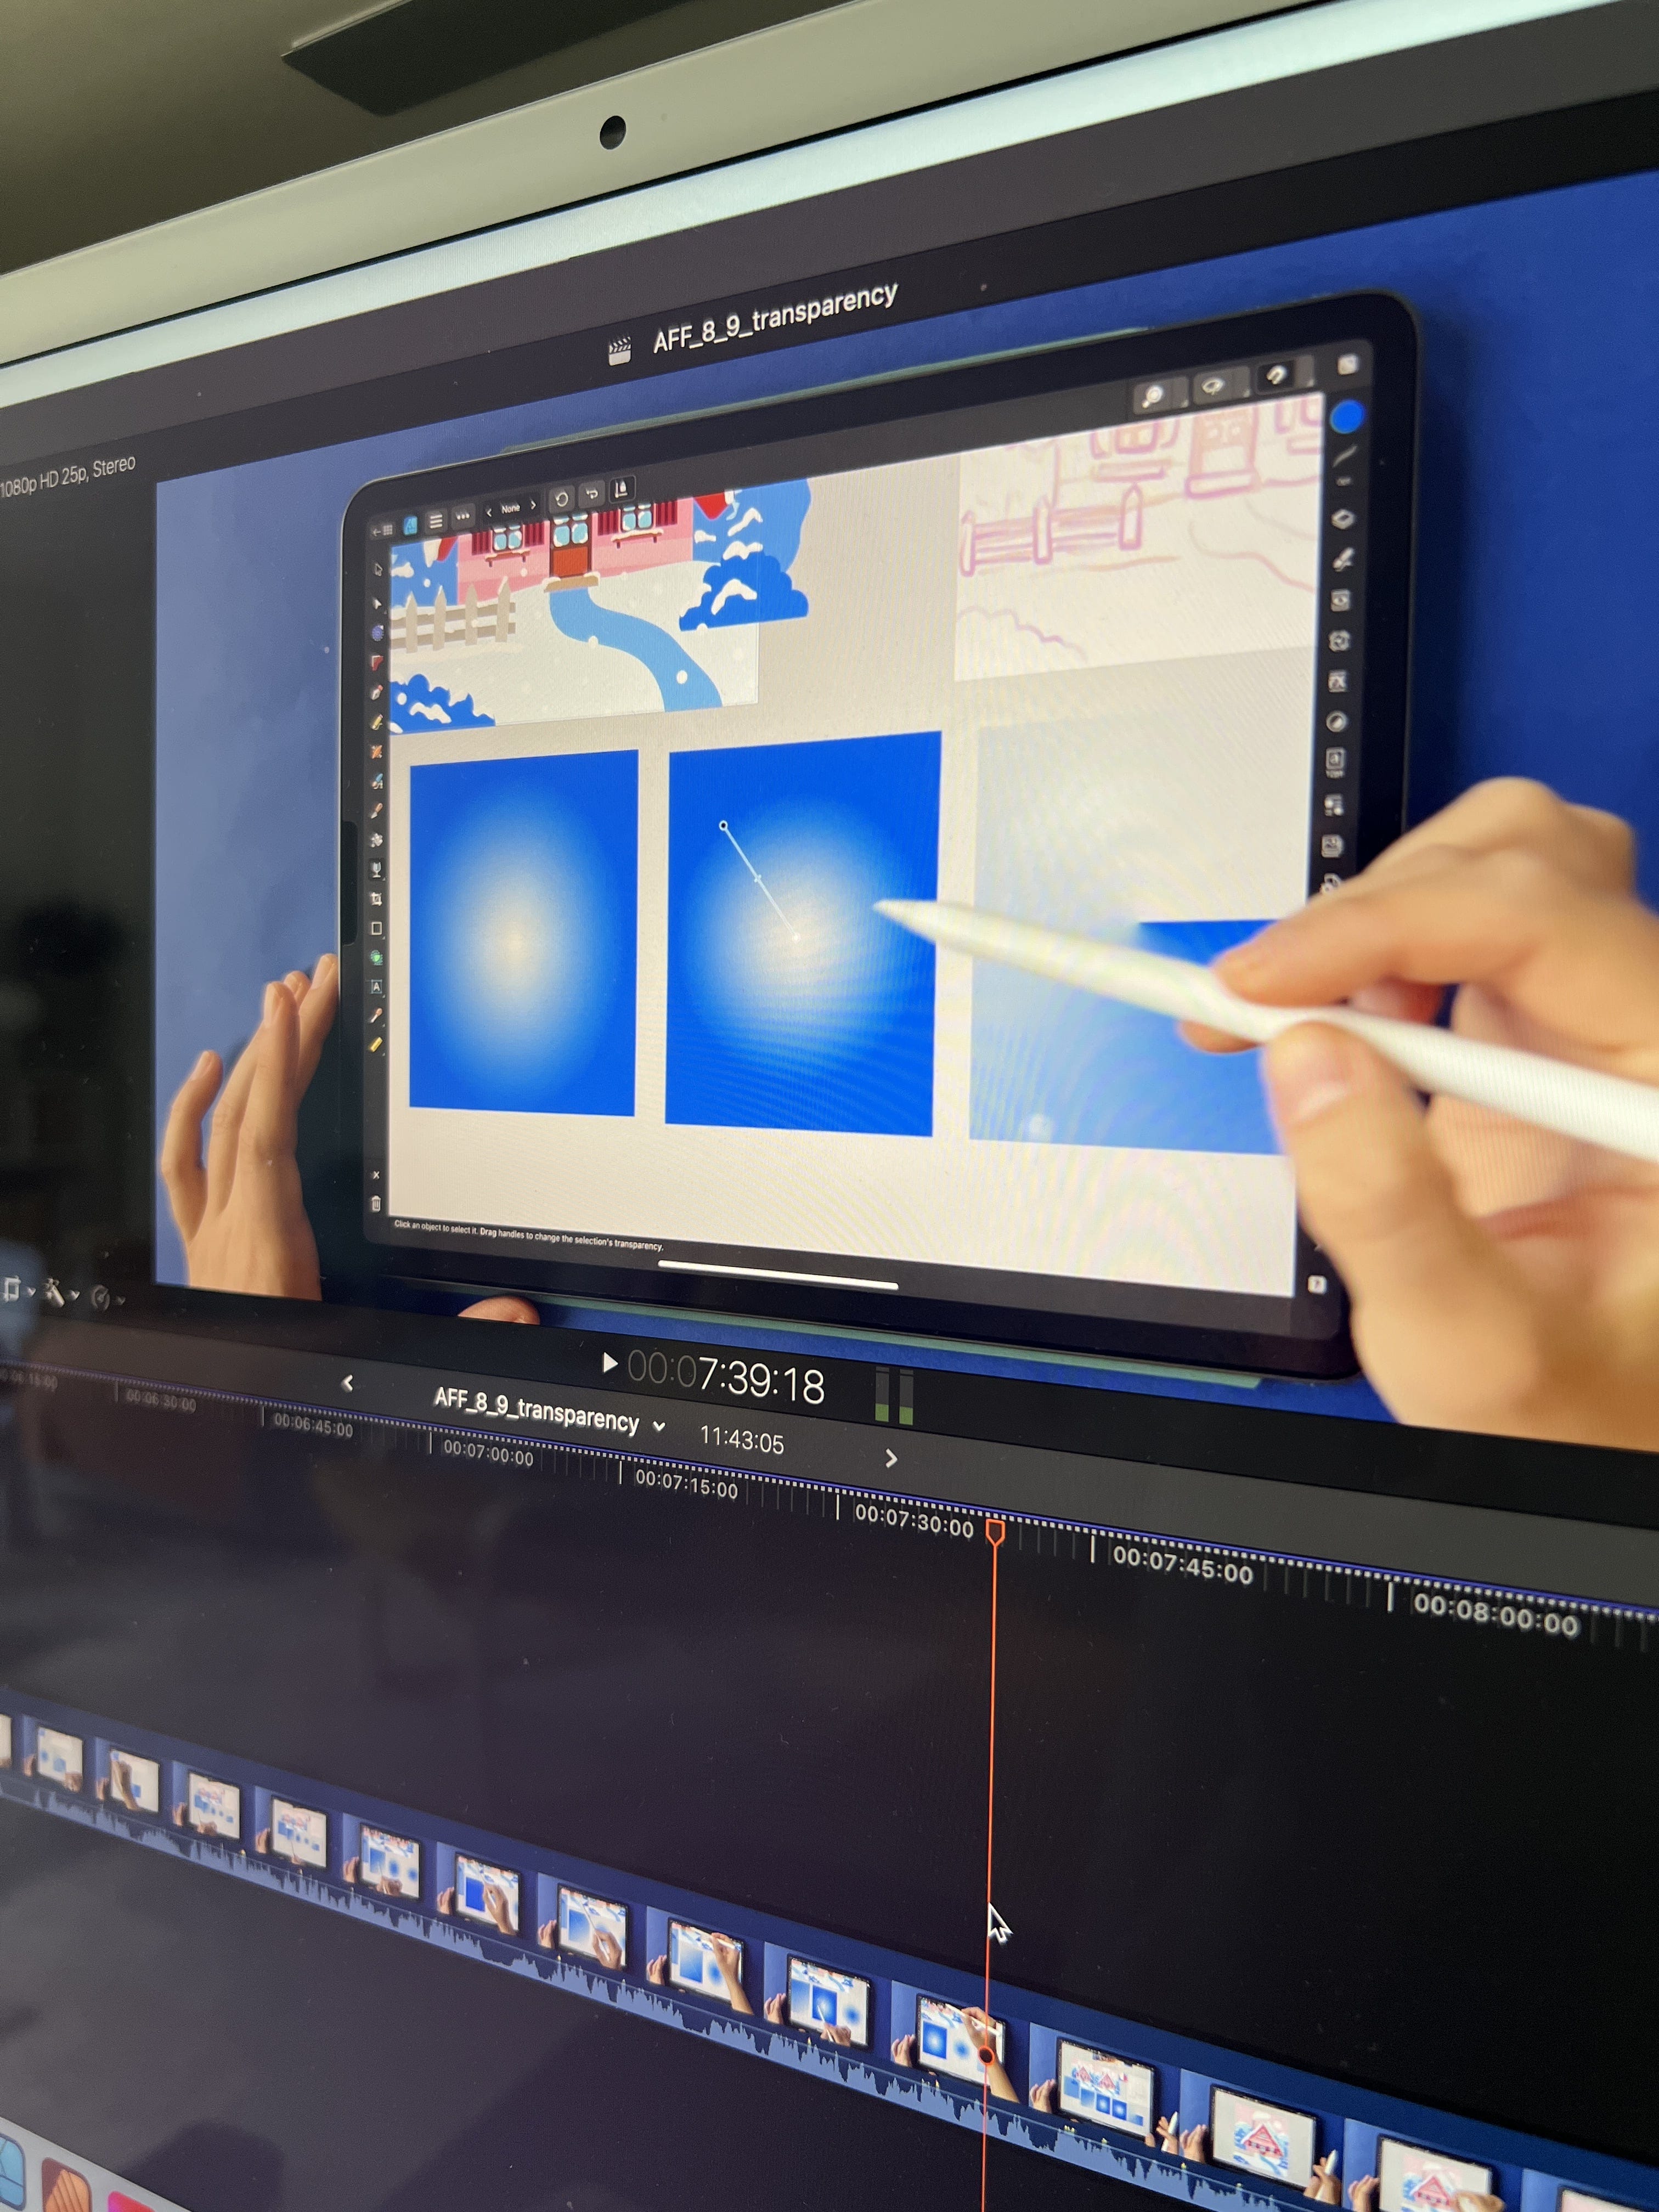
Final Cut Pro – My go-to tool for video editing, syncing audio, and adding effects to enhance lessons. I will link a few Skillshare courses below, which I took a few years back to learn FCP.
Affinity Designer & Canva – I use a mix of both for creating slides and visual assets for the course. I like that Canva is in the cloud, so all my slide templates are there. Super comfy ^^
Recommended Final Cut Pro Skillshare courses:
Final Cut Pro X Essentials: From Newbie to YouTuber by JC Corres - I took this course a few times cos that guy has some sweet tips on the audio.
Video Editing with Final Cut Pro X - From Beginner to YouTuber by Ali Abdal - classic :)
The production process
Here’s a quick breakdown of how I create my courses:
Planning & scripting – I start with an outline of all the key topics and techniques I want to cover. Then I refine it into a lesson plan. I often just use a physical sketchbook but then I always transfer everything to Notion. Leave a comment if you’d like me to give you a sneak peek into my Notion spreadsheet!
Recording – Using my iPhone and overhead tripod, I capture step-by-step tutorials, making sure each lesson is clear and actionable. And then boooom, airdropping everything onto my iMac right away.
Audio syncing & editing – I record my audio separately with the Zoom H1n and synchronize it with my video in Final Cut Pro.
Enhancing & finalizing – This is where I add zoom-ins, callouts, and refine audio quality for a polished finish.
Uploading & final Checks – Before launching, I review everything to make sure lessons are well-structured and easy to follow.
Ready to level up your Affinity Designer skills?
I’ve poured so much into making this course valuable and practical for you. If you’ve been wanting to improve your vector illustration workflow, now is the perfect time!
📌 Check out the course here: https://www.weronikasalach.com/vector-houses-affinity-designer-illustrate-with-gradients or on Skillshare: https://skl.sh/41J1oNx
I can’t wait to see what you create. Let me know in the comments—what’s one Affinity Designer tool you’re most excited to master? 😊

Affinity Designer 2.6 update: The Pencil Tool finally feels natural! 🎉
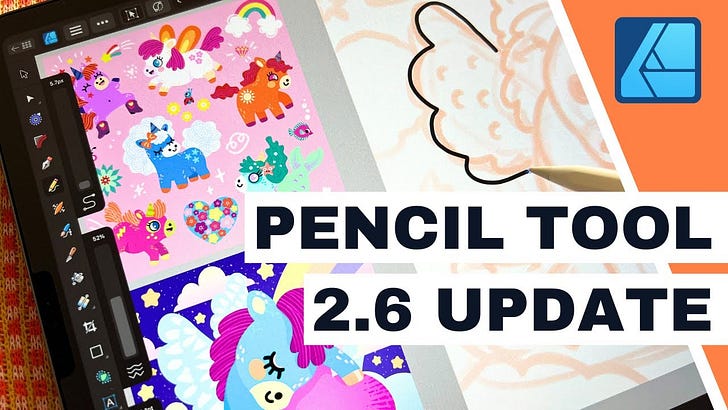
The latest Affinity Designer 2.6.0 update is a game-changer for digital illustrators! The Pencil Tool now offers better control, no forced smoothing, and new auto-close options, making it easier than ever to create organic, hand-drawn vector art. I’d love to know what you think. You can leave a comment here or head to YouTube to start a conversation ^^

Hi! I’m Weronika Salach, a freelance illustrator specializing in children’s books, toy design and surface pattern design. Over 40,000 happy students have taken my digital illustration courses and watched my YouTube videos. Let’s connect :)
👉 Website
👉 Courses
👉 YouTube
👉 FB group for illustrators and FB group for pattern designers
👉 Etsy
👉 Books on Amazon.com and Amazon.de
Thank you Weronica for sharing so much info here about your set up too! Even for us newbies wanting to share video on here, or otherwise its great info. I'm saving up for a Mac!! I have an iPhone 14Pro and iPad but a Windows PC hooked up to a large screen. Saving stuff back and forth to Apple and Windows is really frustrating. I don't use Skillshare any more but I'm sure the course will be excellent as your courses are. I recently completed a big course on AF Designer with Delores Naskrent on the iPad, so I have learned a lot and now need to put it into practise but I keep slipping back to Procreate and not taking it through to AF even though I know Vector is so much better. I think the new update with the pencil tool with help me use it more though.
Yes please, love to see other creatives set up☺️